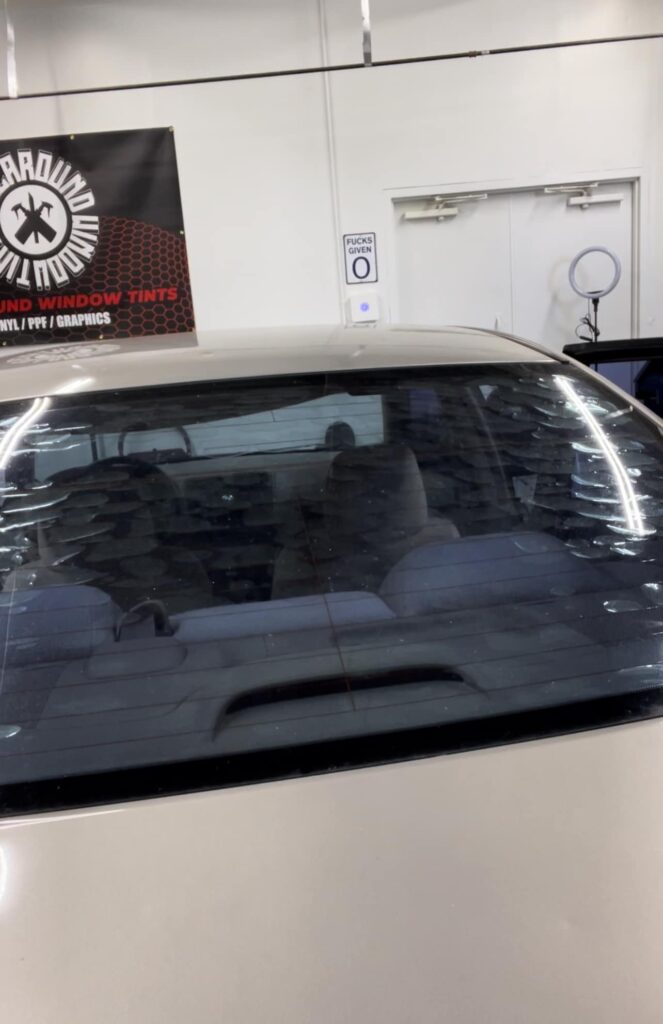
How to Remove Window Tint: A Step-by-Step Guide for Colorado Springs Residents
Removing window tint can be a challenging task, but with the right tools and techniques, you can achieve a clean result. Whether you want to improve visibility, comply with local laws, or simply refresh your vehicle’s appearance, this guide will walk you through the process of removing window tint using steam and Simple Green for the back window, and razor blades with Simple Green for the side windows.
Tools and Materials Needed
- Simple Green Cleaner
- Steamer
- Razor Blades
- Plastic Scraper (optional)
- Microfiber Cloths
- Trash Bag
- Gloves (optional)
- White Scotch Brite Scrubbing Pad
Step 1: Prepare Your Workspace
Before starting, ensure you have a clean workspace. If you’re in Colorado Springs, consider working in a shaded area to avoid overheating the glass. Gather all necessary tools and materials, lay down some old towels or a drop cloth to catch any debris.
Step 2: Test the Tint
Before you start, test a small section of the window tint to ensure it can be removed easily. Apply a bit of Simple Green to a corner and see if it lifts away easily. This will help you determine if your tint is ready for removal. This step only prepares you for the workload, you will still be able to remove the Tint regardless of its ciondition.
Step 3: Remove the Back Window Tint
Using Steam
Fill Your Steam Cleaner: Prepare your steam cleaner according to the manufacturer’s instructions. Fill it with water and allow it to heat up.
Steam the Tint: Hold the steam cleaner nozzle a few inches away from the window and begin applying steam to the tinted area. Work slowly, focusing on one section at a time. The steam will loosen the adhesive.
Peel Away the Tint: Once the tint is warm and pliable, use your fingers to peel it away from the glass. Start at the corners and pull gently to avoid tearing or damaging defrost lines. If the tint resists, apply more steam.
Clean the Residue: After removing the film, you’ll likely see adhesive residue left on the glass. Spray Simple Green on the affected areas and let it sit for a few minutes. Wipe it away with a microfiber cloth, you may also need to scrub diffucult to clean areas with a White Scotch Brite Scrubbing Pad.
Step 4: Remove the Side Window Tint
Using Razor Blades
Spray Simple Green: Generously spray Simple Green on the side windows, ensuring that the surface is well-saturated. Let it sit for a few minutes to soften the adhesive.
Use Razor Blades: Carefully insert the edge of a razor blade under the corner of the tint. Angle the blade slightly to avoid scratching the glass. Slowly slide the blade along the tint, lifting it away from the window.
Work in Sections: Continue to peel back the tint in small sections, applying more Simple Green as needed. If the tint tears, use the razor blade to remove the remaining pieces.
Clean Up Residue: After removing all the tint, spray Simple Green on any leftover adhesive and wipe it away with a microfiber cloth Ensure you clean out left over adhesive from the lower and side seals. Finally spray the window with soapy water and run your hand across it to feel for left over adhesive.
Step 5: Final Cleaning
Once all tint and residue have been removed from both the back and side windows, give the glass a thorough cleaning. Use Simple Green or a dedicated glass cleaner to remove streaks, ensuring a crystal-clear finish.
Step 6: Dispose of the Tint
Gather all the removed tint and any adhesive residue, placing it into a trash bag. Properly dispose of it according to local waste disposal guidelines in Colorado Springs.
Tips for Success
- Work Slowly: Rushing can lead to scratches or damage to the glass.
- Safety First: If using razor blades, be careful to avoid cutting yourself or damaging the window.
- Weather Considerations: Avoid working in extreme temperatures; ideally, choose a mild day in Colorado Springs or work inside a garage.
Conclusion
Removing window tint can significantly enhance the look and safety of your vehicle. By following this detailed guide using steam and Simple Green for the back window and razor blades for the side windows, you can achieve professional-looking results right at home. Enjoy your clearer view and stay compliant with local regulations!
WINDOW TINT REMOVAL
PRICING
If that all sounds like a lot of work, trust us.. it is!!
We offer Professional Window Tint Removal in Colorado Springs, CO at our shop located at 3120 Beacon St Ste D, Colorado Springs, CO 80907.
Individual Side Windows start at $50 per window, Full Vehicles start at $200 and failing bad tint is billed hourly.
Call us for a free quote!
NEED NEW TINT?
GET THE BEST WINDOW TINT IN COLORADO SPRINGSALL AROUND WINDOW TINTS
Don't settle for less, Get the Privacy and Protection You Deserve!


